Aurora User Guide
Everything from first setup to fixing a broken site — on iPhone, iPad, and Mac.
1 · Getting started
Aurora is a Safari extension, so after installing the app you enable it once in iOS Settings. This is the one step everyone gets stuck on — it takes under a minute.
- Download Aurora from the App Store and open it once.
- Open Settings → Safari → Extensions. (On newer iOS versions the same list is under Settings → Apps → Safari → Extensions.)
- Tap Aurora and toggle Allow Extension on.
Settings → Safari → Extensions: toggle Aurora on.
- Still on Aurora's settings page, under Allow Aurora to read and alter webpages on, tap All Websites and choose Allow. Aurora needs this to re-colour pages; your browsing never leaves the device — see the Privacy Policy.
Grant access to All Websites so every page can be themed.
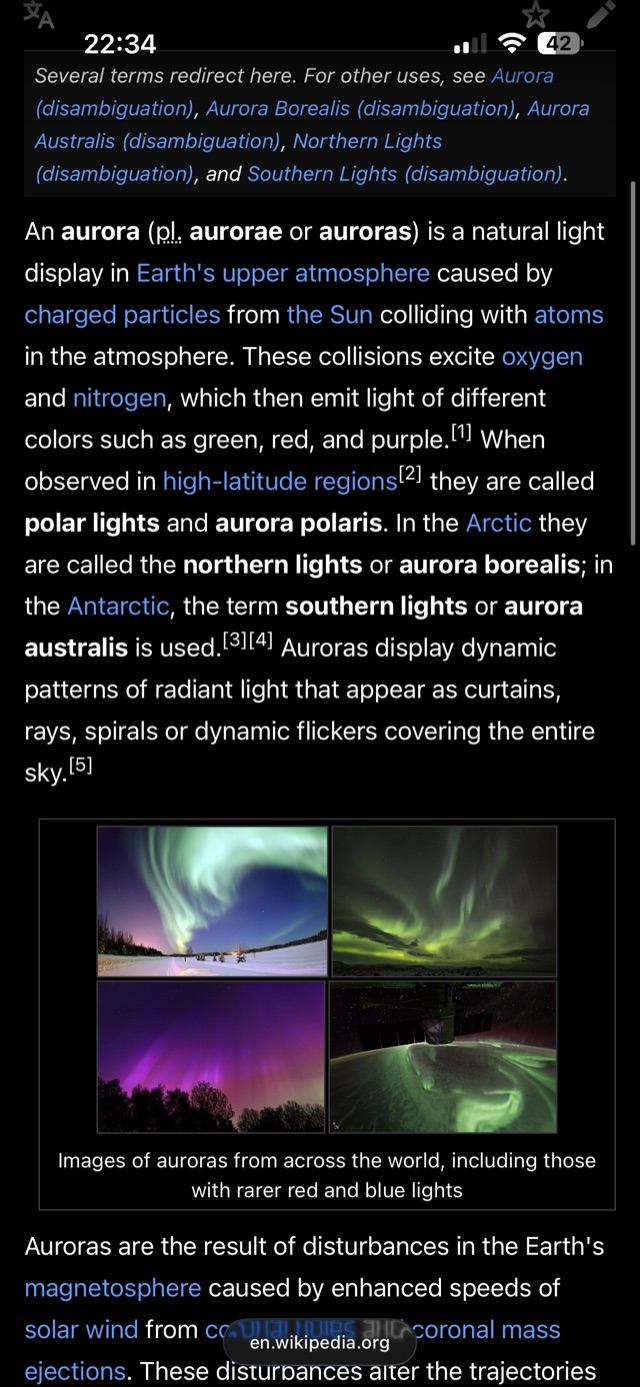
- Go back to Safari and refresh any open tab — the page should now be dark.
2 · Themes & colours
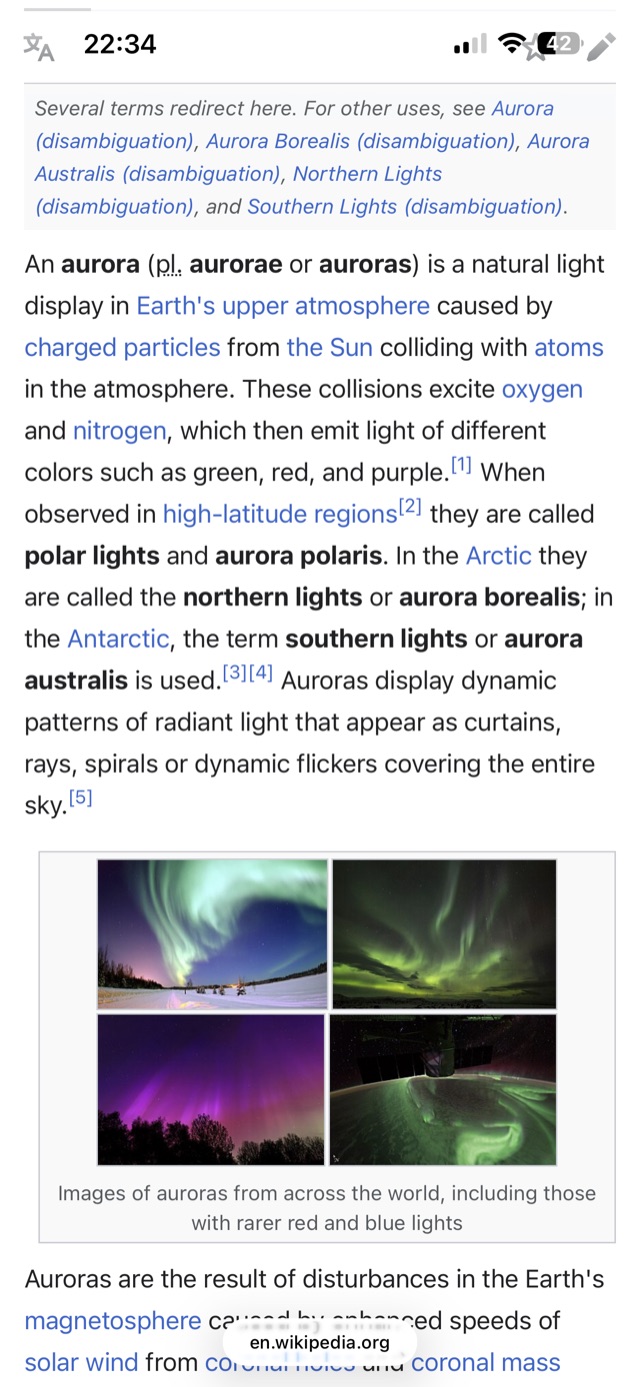
Aurora ships 7 built-in themes — from deep blue night tones to warm sepia — and lets you design unlimited custom themes with your exact background, text, and accent colours.
- Open the Aurora app and pick any theme — it applies to Safari instantly.
- To make your own, choose Custom and adjust the colours until it feels right.
- Custom themes sync across your devices via iCloud — including your Mac.
3 · Eye care
Two extra layers on top of dark mode make late-night reading comfortable:
- Blue Light Filter — warms the page from 0 to 100%. Set it in the Aurora app; higher values feel like a paper page under lamplight.
- Image Dimming — tones down bright photos that would otherwise glare against a dark page. Adjustable per site, so photography sites can stay vivid while news sites stay calm.
4 · Quick controls
You rarely need to open the app once things are set up:
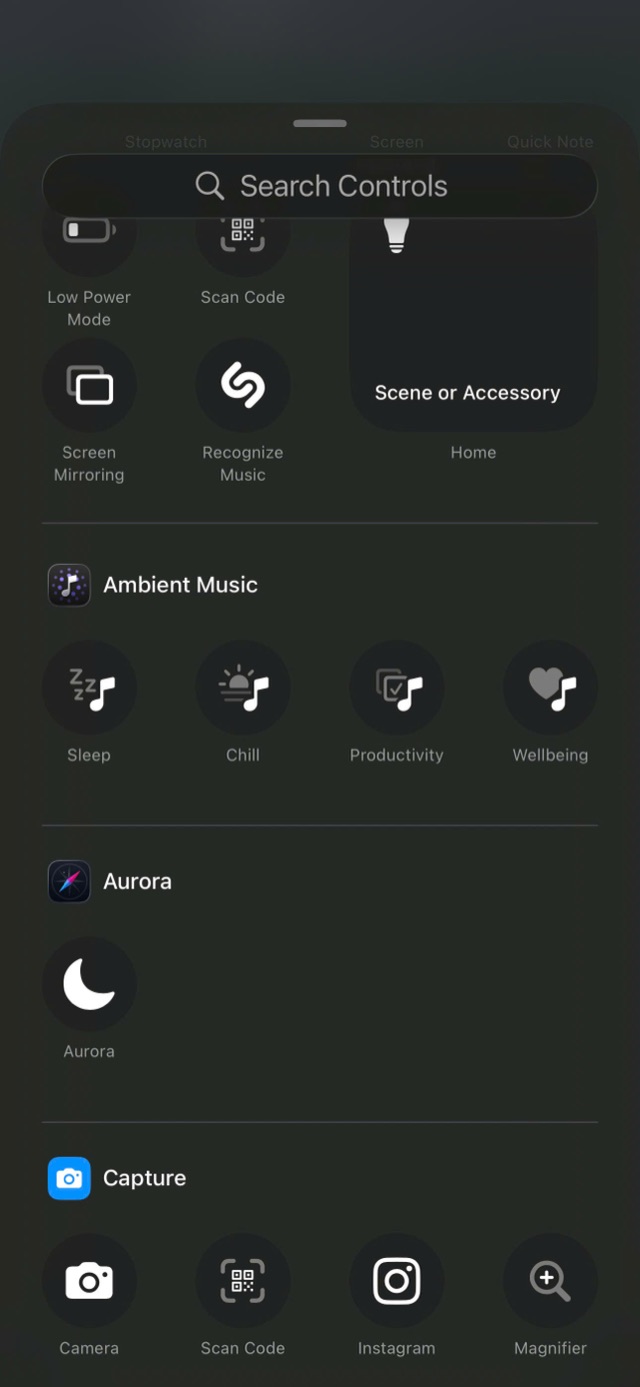
- Control Center toggle (iOS 18+): Settings → Control Center → scroll to More Controls → tap the green + next to Aurora. Flip dark mode from anywhere.
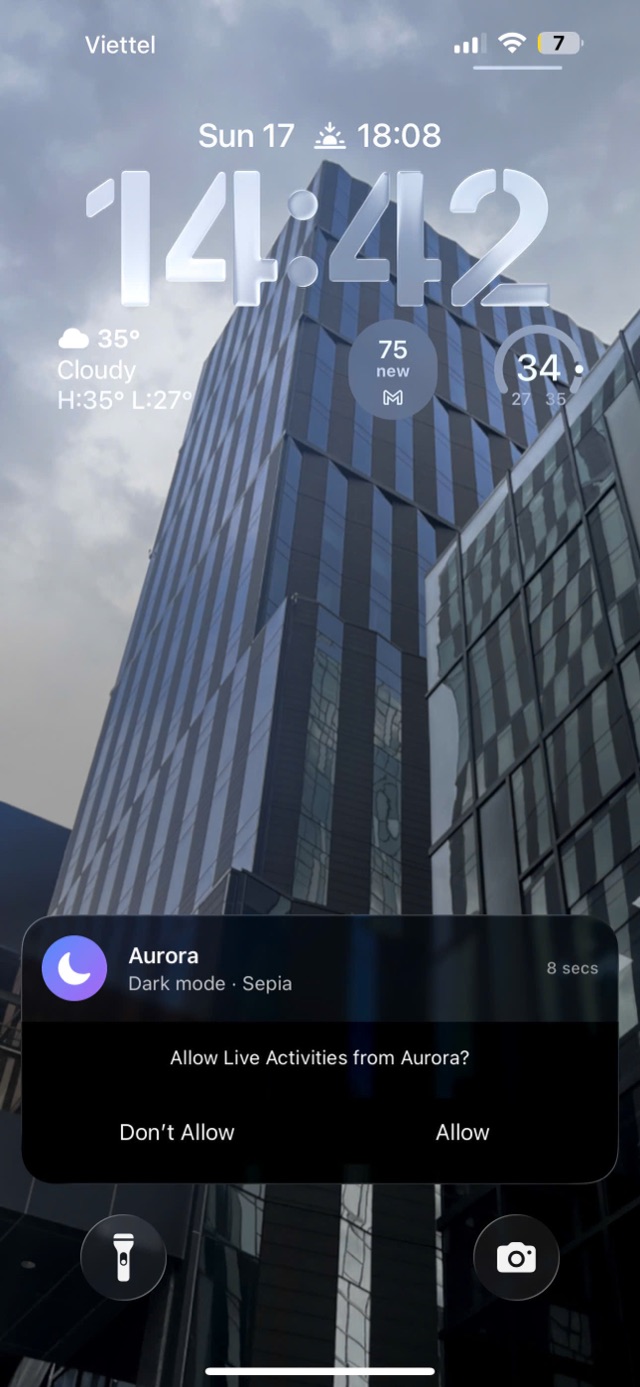
- Live Activity (iOS 16+): shows Aurora's on/off state on the Lock Screen and Dynamic Island. Enable it in the Aurora app.
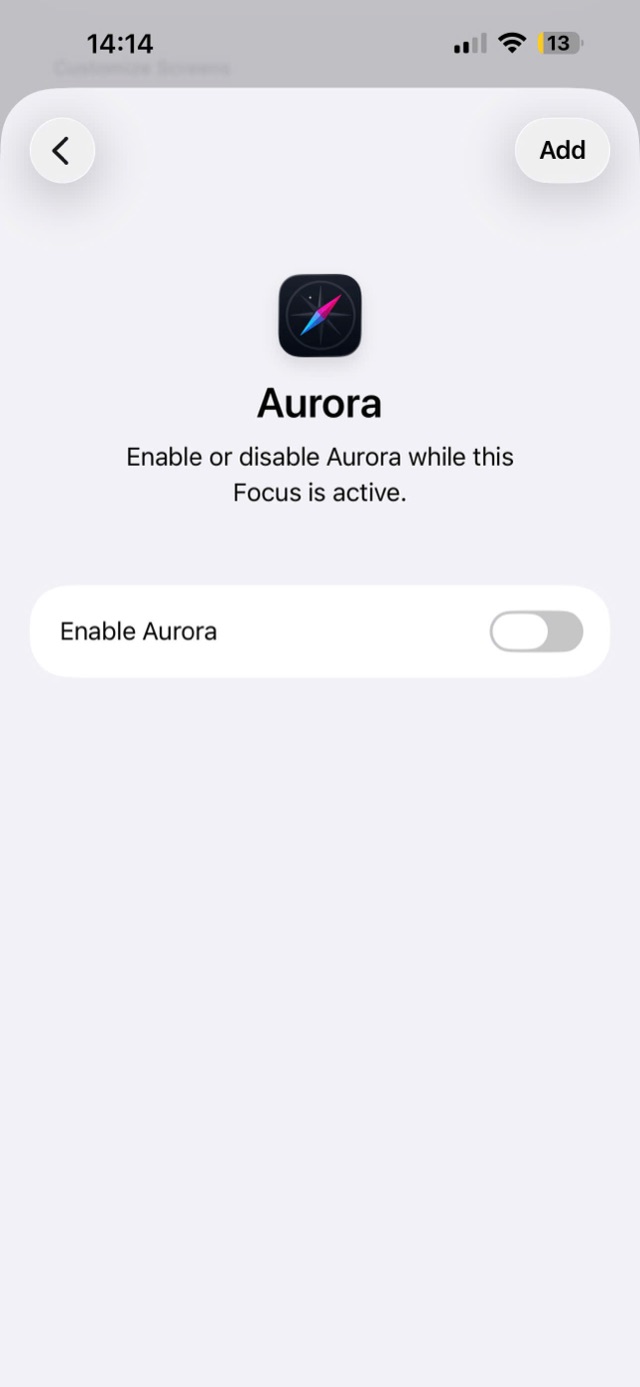
- Focus Filter: Settings → Focus → pick a mode (e.g. Sleep) → Focus Filters → Add Filter → Aurora → set to ON. Aurora switches automatically when that Focus starts — dark at night, light by day.
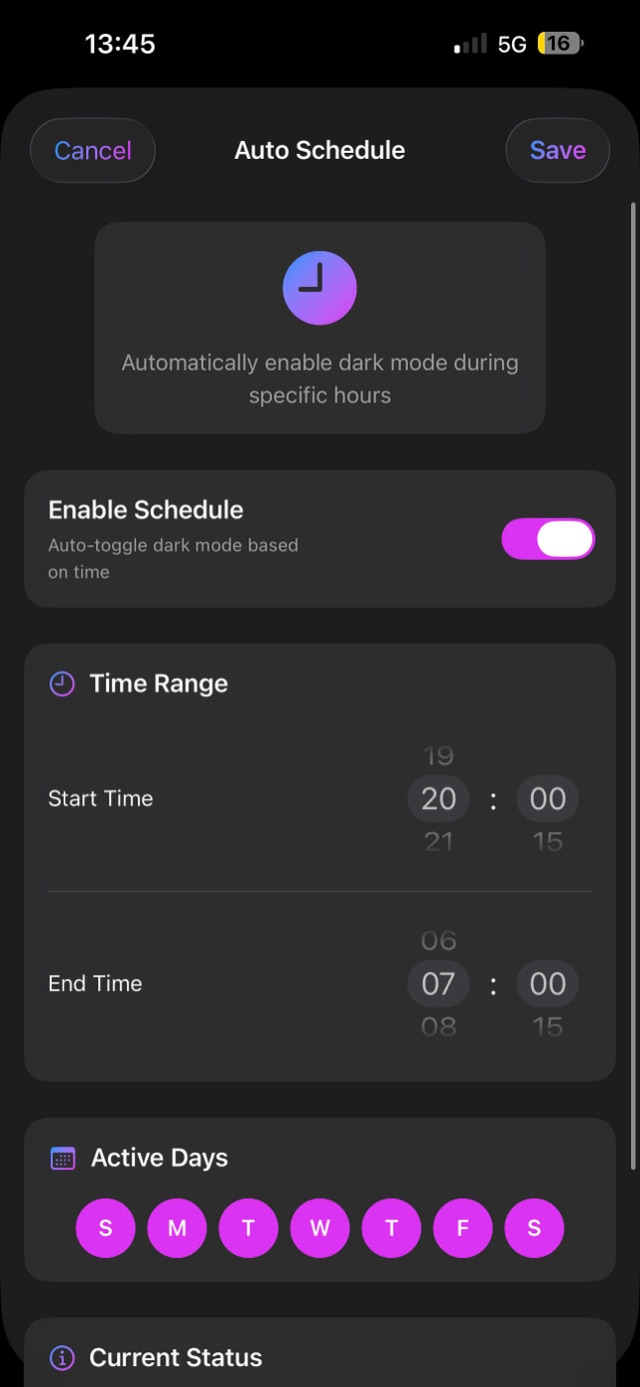
- Auto Schedule: in the Aurora app, set times to turn dark mode on and off every day.
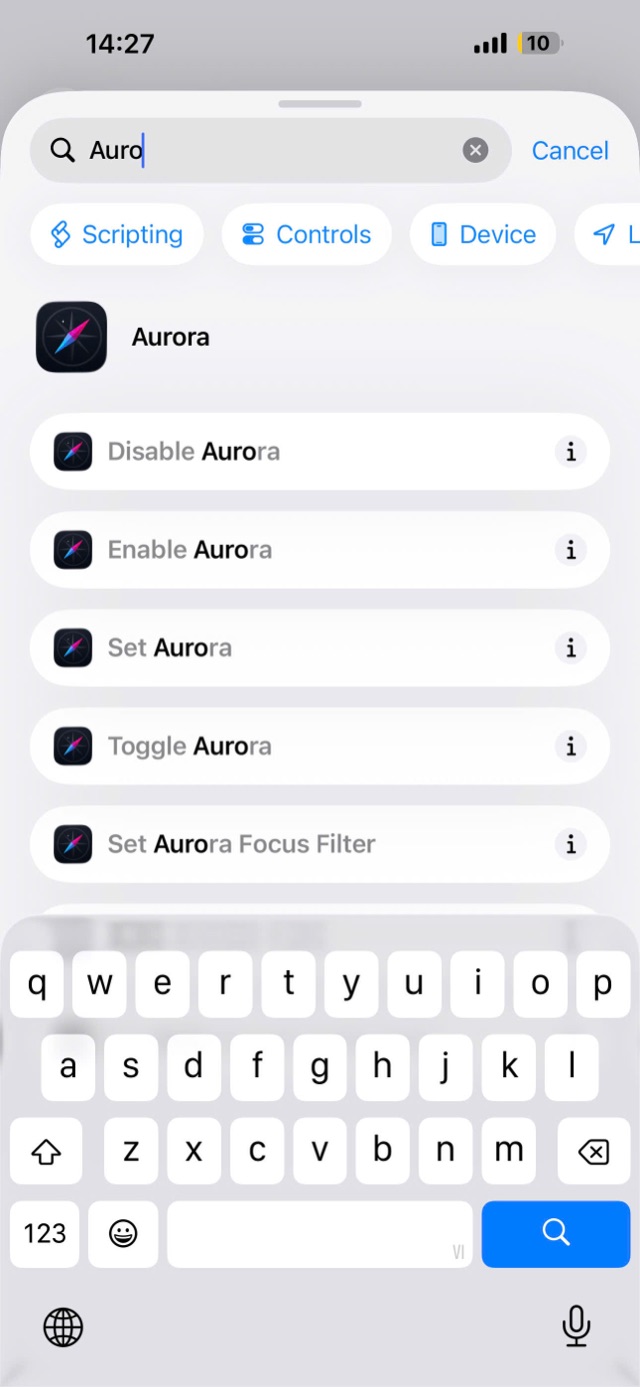
- Siri & Shortcuts: Aurora's toggle actions appear in the Shortcuts app, so you can automate it or ask Siri.
5 · Trial & pricing
- Every feature is free for 3 days — no payment info required to start the trial.
- After that, keep Aurora with either plan, purchased inside the app: $1.99/month (cancel anytime) or $5.99 once for lifetime access and all future updates.
- One purchase covers both iPhone/iPad and Mac — Aurora is a universal purchase on the same Apple Account.
- Reinstalled or switched phones? Tap Restore Purchases in the Aurora app.
- Refunds follow the standard App Store policy — request one via your Apple purchase history. Details in the Terms of Service.
6 · Troubleshooting
Pages aren't turning dark. Almost always a permissions issue: re-check Getting started — the extension must be toggled on and have All Websites → Allow. Then refresh the tab.
Aurora doesn't appear in Settings → Safari → Extensions. Open the Aurora app once, then check again. If it's still missing, restart your iPhone — iOS occasionally needs it to register new extensions.
A site looks broken with Aurora on. In order:
- Open the Aurora app → Rules → add the site to the Blacklist. Aurora will skip it.
- Try a different theme — some themes apply stronger filters and interact differently with a site's CSS.
- Email the URL to danny.ng.it@gmail.com — I ship site-specific fixes in updates regularly.
Anything else — see the Support page for the FAQ and a bug report template.
1 · Getting started on Mac
Aurora for Mac is the same app on the same App Store listing — install it on your Mac, then enable the Safari extension once:
- Download Aurora from the Mac App Store and open it. The app shows an Enable Extension button that takes you straight to the right Safari screen.
- Or manually: in Safari, open Safari → Settings… (⌘,) → Extensions.
- Tick the checkbox next to Aurora.
Safari → Settings → Extensions: tick Aurora.
- When Safari asks for permissions, choose Always Allow on Every Website — Aurora needs this to re-colour pages. Your browsing never leaves your Mac; see the Privacy Policy.
- Refresh any open tab — it should now be dark.
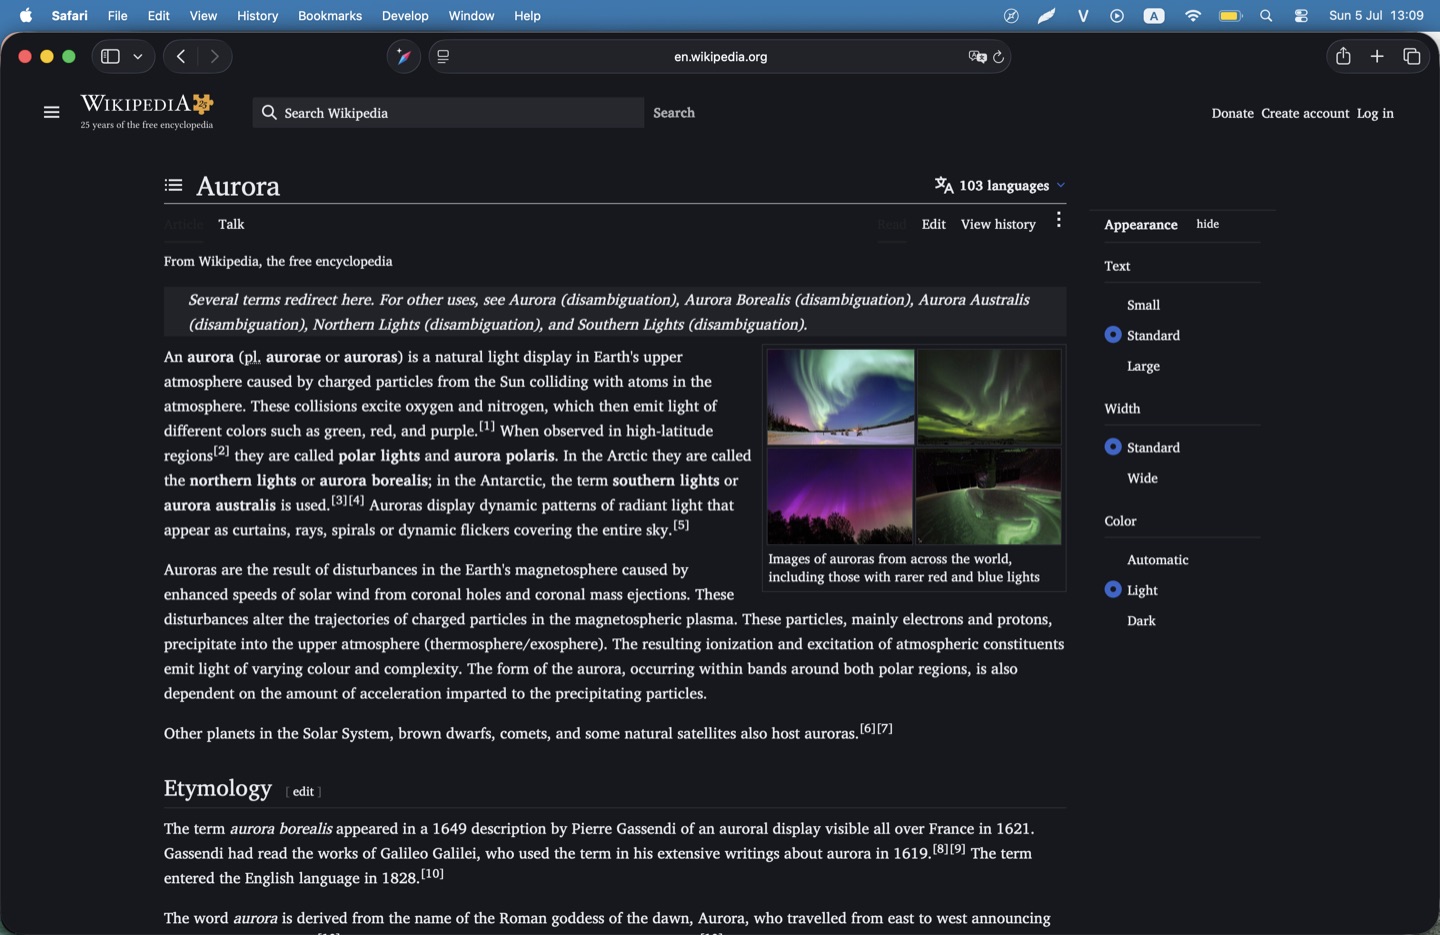
2 · Your reading font, any site
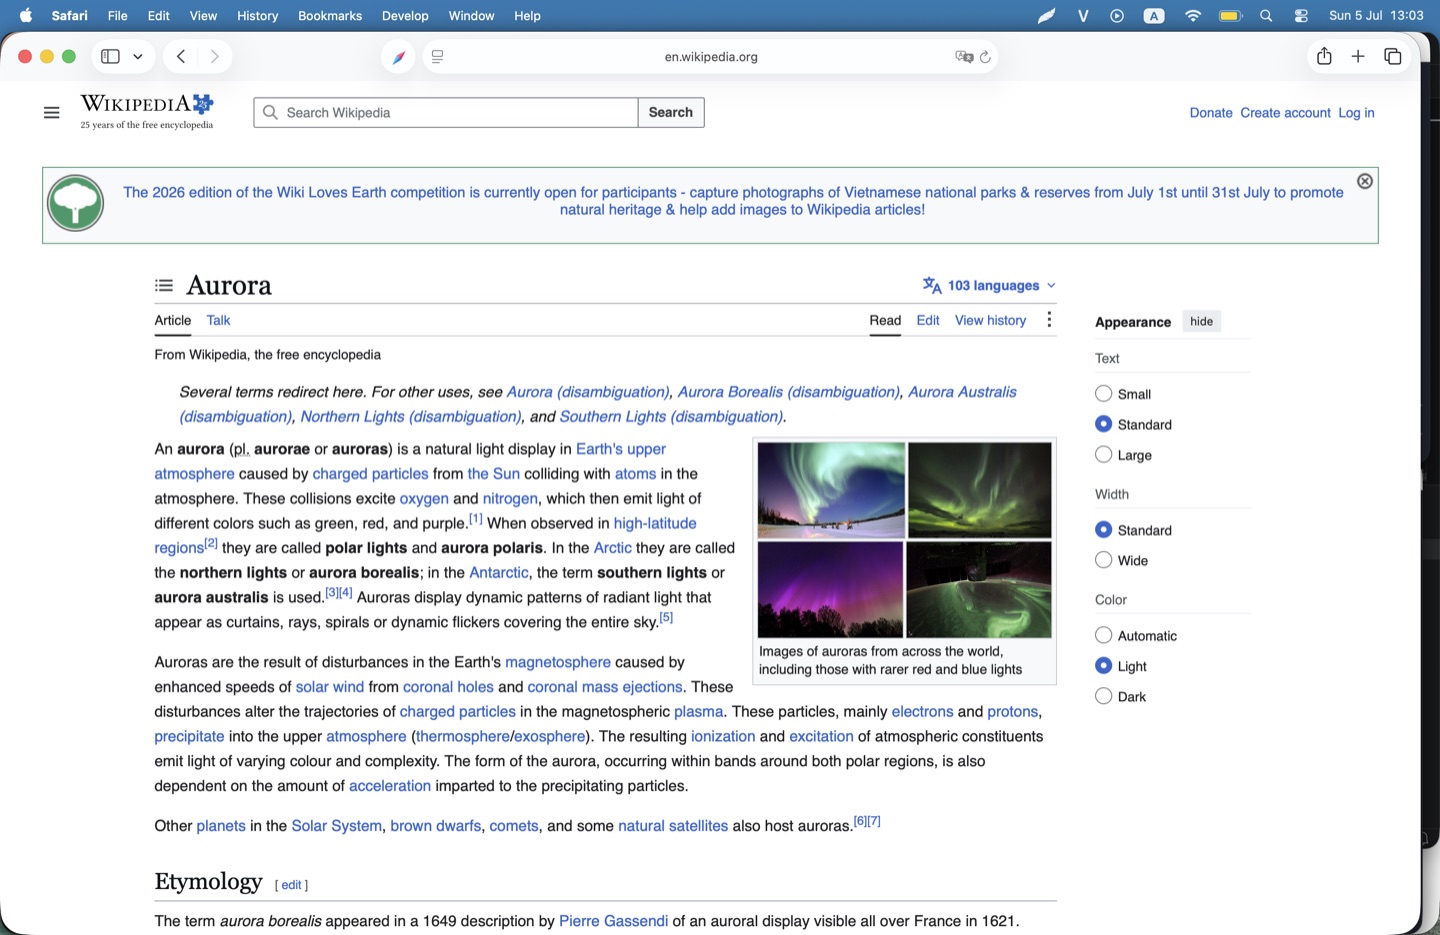
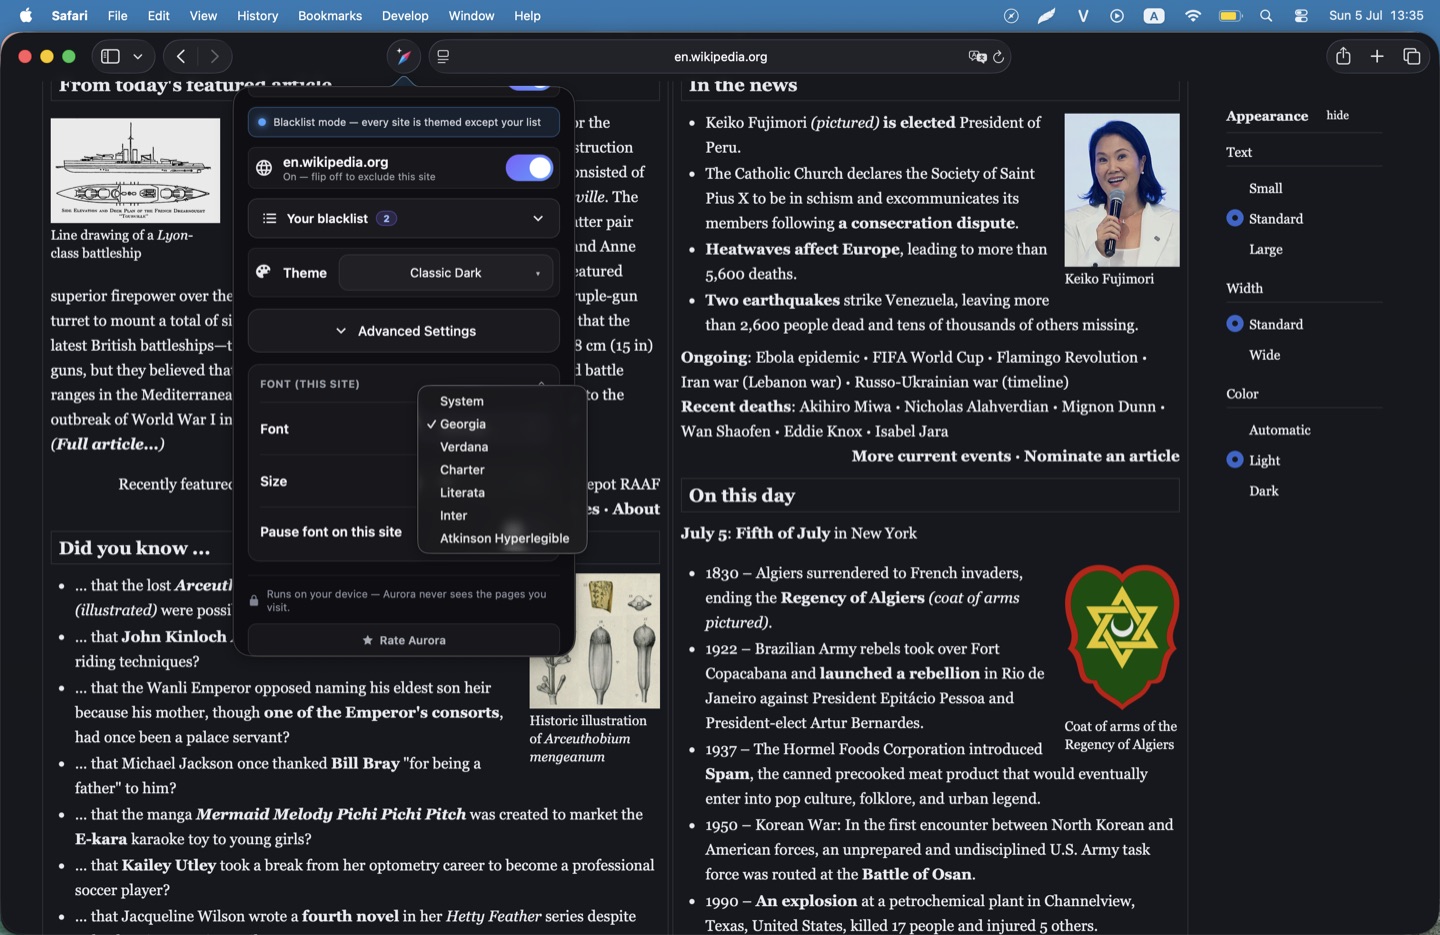
Aurora can change the web font and text size on any website, on top of the theming engine — 14 typefaces on both iOS and Mac. Here's how it works on the Mac:
- Open the Aurora app on your Mac and go to the Fonts settings.
- Pick a font and size — every site you visit renders with your choice, from news sites to documentation.
- Turn it off per site if a page's own typography matters to you.
3 · Themes & eye care
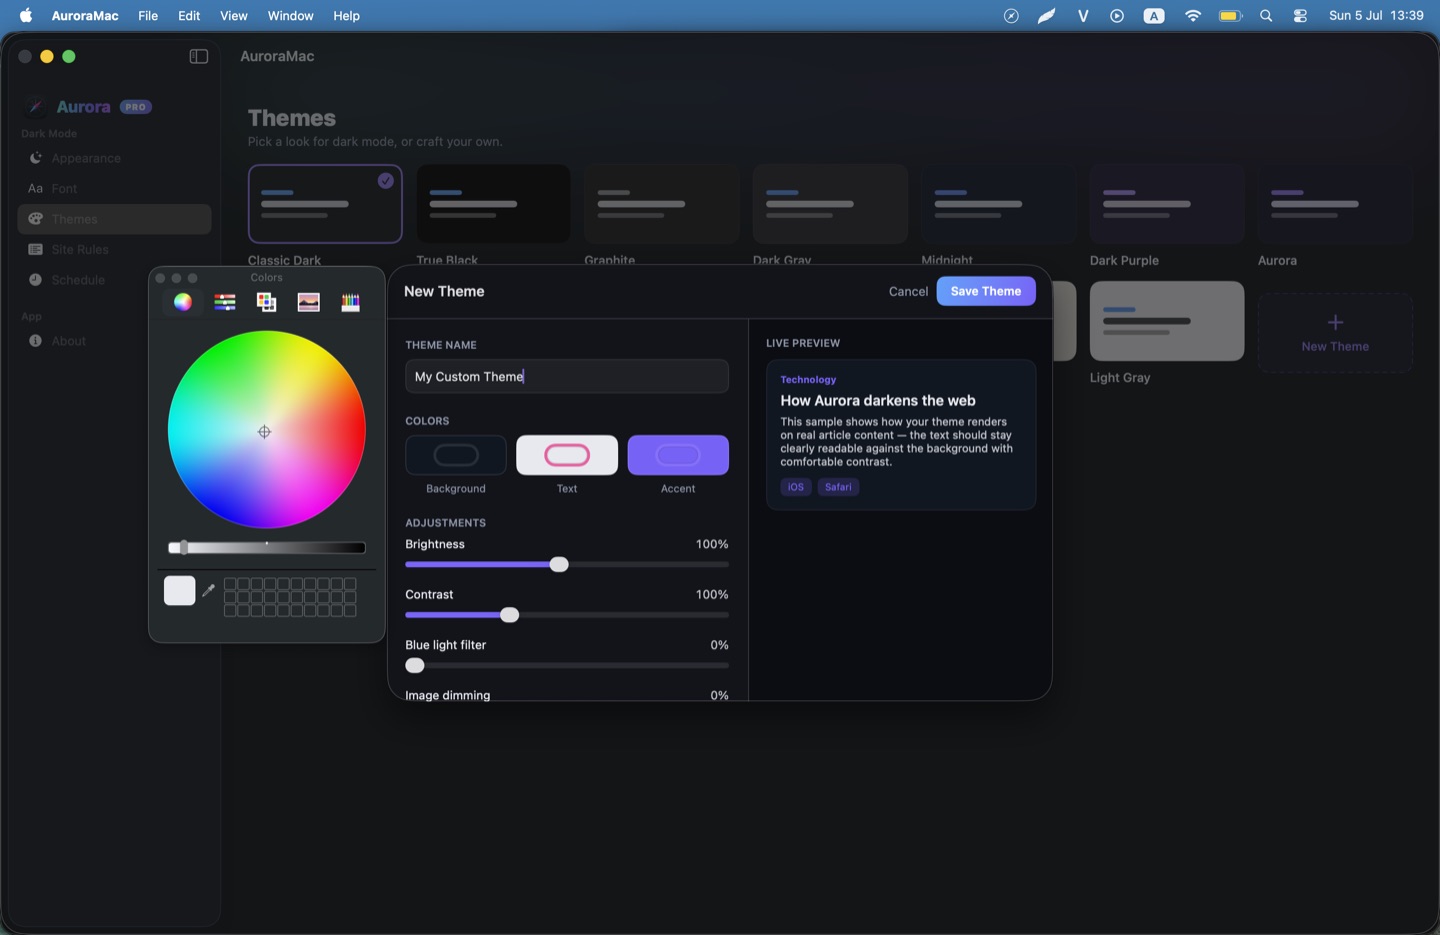
The full theming engine from iOS runs on the Mac — same 7 built-in themes, unlimited custom themes, Blue Light Filter (0–100%), and per-site Image Dimming.
Custom themes you made on iPhone or iPad appear on the Mac automatically via iCloud sync — and the other way round.
4 · Menu bar toggle
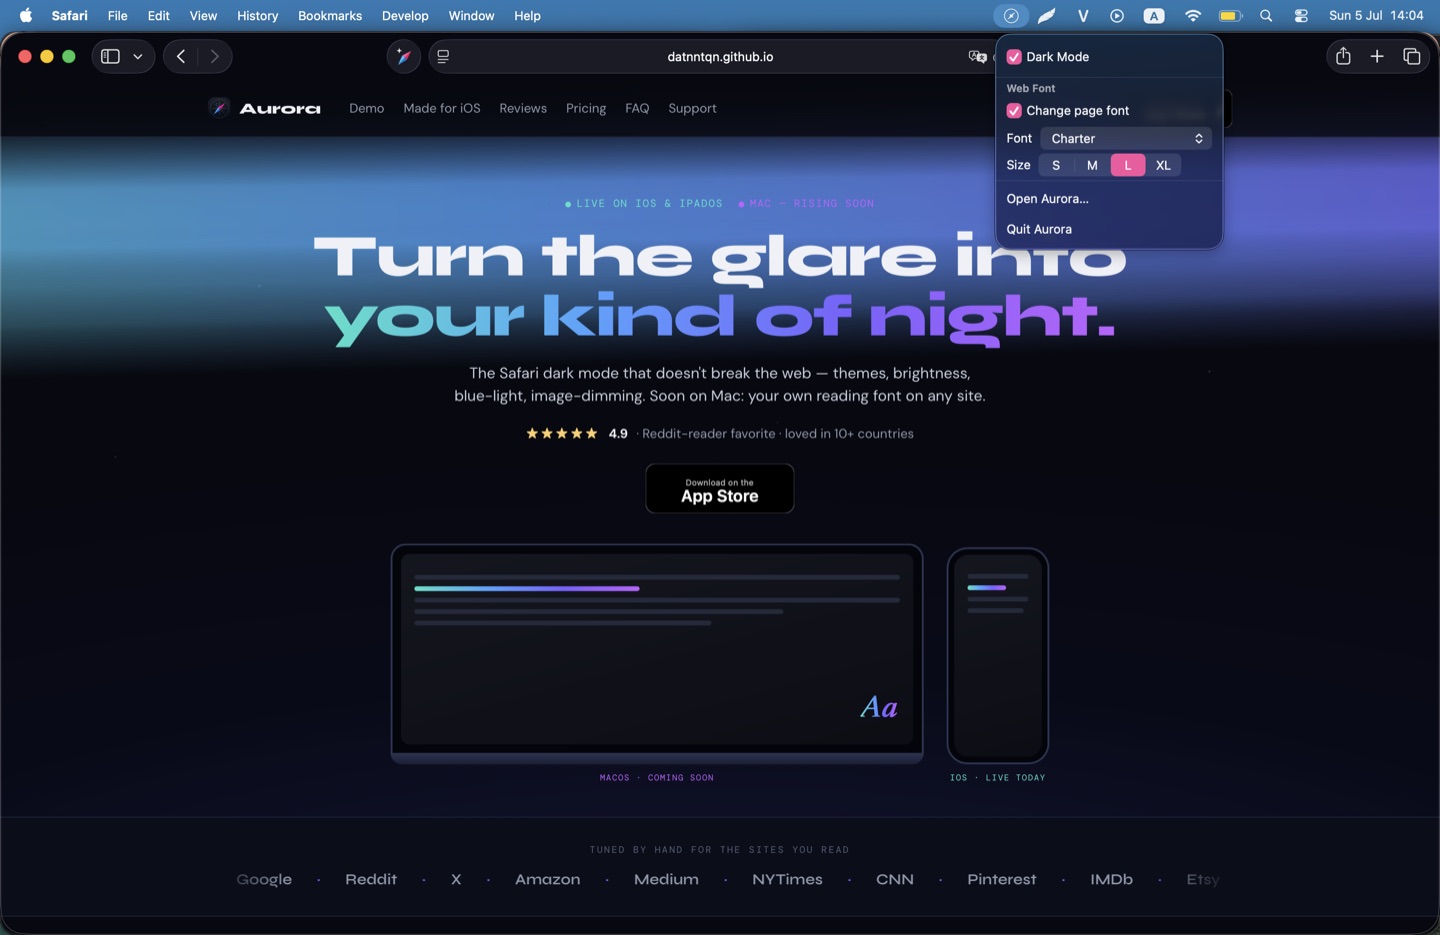
On the Mac, the quick toggle lives in the menu bar: click the Aurora icon at the top of your screen to flip dark mode for Safari without opening the app. It's the Mac counterpart of the iOS Control Center toggle.
5 · Trial & pricing
- The Mac app has the same 3-day free trial with everything unlocked, no payment info needed.
- Aurora is a universal purchase: buy once — $1.99/month or $5.99 lifetime — and it unlocks on iPhone, iPad, and Mac with the same Apple Account.
- Already bought it on iPhone? Just open the Mac app and choose Restore Purchases.
6 · Troubleshooting
Aurora isn't listed in Safari → Settings → Extensions. Open the Aurora app once so macOS registers the extension, then check again. Still missing? Quit and reopen Safari.
Pages aren't turning dark. Check that Aurora's checkbox is ticked in Safari's Extensions settings and that it's allowed on every website. Then refresh the tab.
A site looks broken with Aurora on. Same fix as iOS: Aurora app → Rules → add the site to the Blacklist, try another theme, or email the URL to danny.ng.it@gmail.com.
Anything else — see the Support page.